


INSTRUCTIONS:
1. Measure the inside dimensions of the two wells of your box.

2. Add 2 inches to each dimension. Using this larger dimension, draw a rectangle on your felt with the marking pen. (The marked lines are on the back, and will not show in the finished project.) Then measure an inch in from these lines on each side and draw four lines, as shown. Double-check the measurement of the inside rectangle to make sure it matches the size of the well. (Measure twice, cut once, like Bob Vila says!) Cut the rectangles out along the outside perimeter, as shown.

3. Then cut out the four corners. My cuts weren't too even due to the amazingly poor quality of the scissors, but the good news is that I don't need to worry about Dad cutting himself with them! Cutting these squares out generously (i.e. outside the drawn lines) allows for ease when the felt is adhered to the box.)
4. Place the felt in the well just to make sure it fits. Trim if necessary.

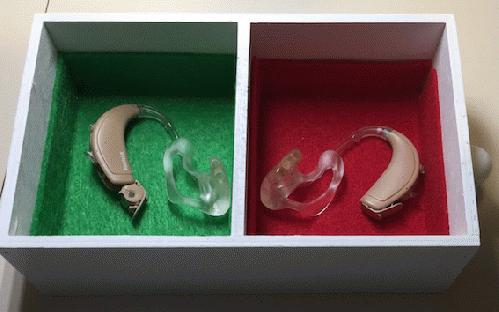
5. If your little box has a knob on it like this one, and if your hearing aid wearer is right-handed, position the knob on the right. Put glue in the bottom of the right hand well, use the brush to smear it around and up about 1 inch on the sides. (The glue will dry clear so don't worry about getting too much on the sides.)

6. With the marked side of the RED felt down, fold the sides in and place it into the bottom of the well on the RIGHT. Smooth it down to fit using fingers. Use the capped pen to flatten the felt, and nudge it neatly into the corners.

7. Repeat with the green piece of felt. Let dry before use.
(Note: You can view every article as one long page if you sign up as an Advocate Member, or higher).


